What is Inventor?
Inventor is a program that you can use to make graphic design applications. You can then use those designs to create 3D prints. You must be specific designs and create them to your wants. It helps you visualize what you are creating in a 3D printer before doing it. Their are many tools that you can use to create the different designs and shapes that you want. Allowing you to create a completely accurate 3D model of a sketch that you created.
Inventor is a program that you can use to make graphic design applications. You can then use those designs to create 3D prints. You must be specific designs and create them to your wants. It helps you visualize what you are creating in a 3D printer before doing it. Their are many tools that you can use to create the different designs and shapes that you want. Allowing you to create a completely accurate 3D model of a sketch that you created.
Step Two:
Open Inventor and start with creating a 2D sketch and then use the line tool to start drawing the widget. For this widget I did it in two steps. I started with the bottom and drew out the shape then clicking dimensions. Looking at the sketch and changing the dimensions to be exact. |


|


Step Three:
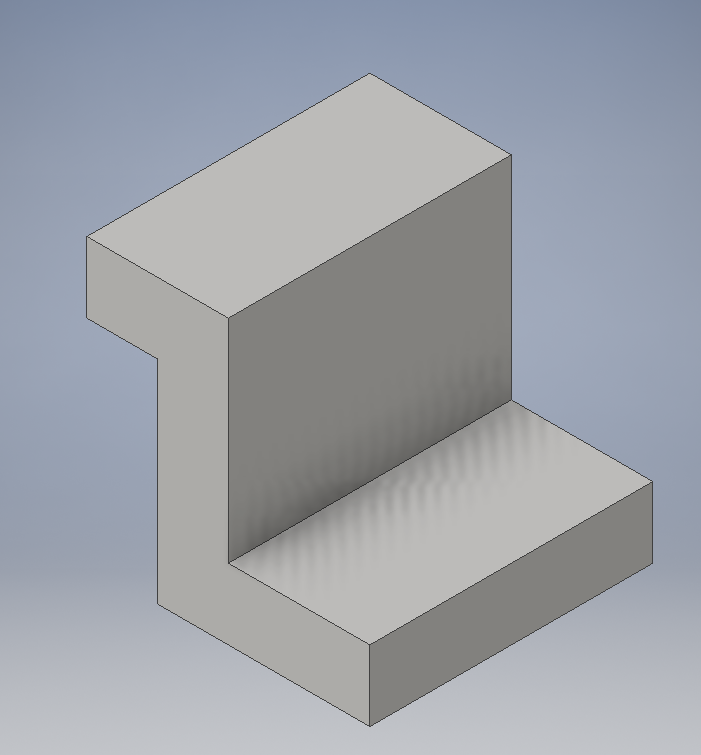
After finishing the dimensions click finish sketch then click extrude to add depth. You then click the 2D sketch again to start the back.
After finishing the dimensions click finish sketch then click extrude to add depth. You then click the 2D sketch again to start the back.

Step Four:
The to start the back of the widget I went back to the sketch and drew the back of the widget. As before drawing out the shape and then doing the dimensions. Then extruding again to get the back
The to start the back of the widget I went back to the sketch and drew the back of the widget. As before drawing out the shape and then doing the dimensions. Then extruding again to get the back
|
Step Five:
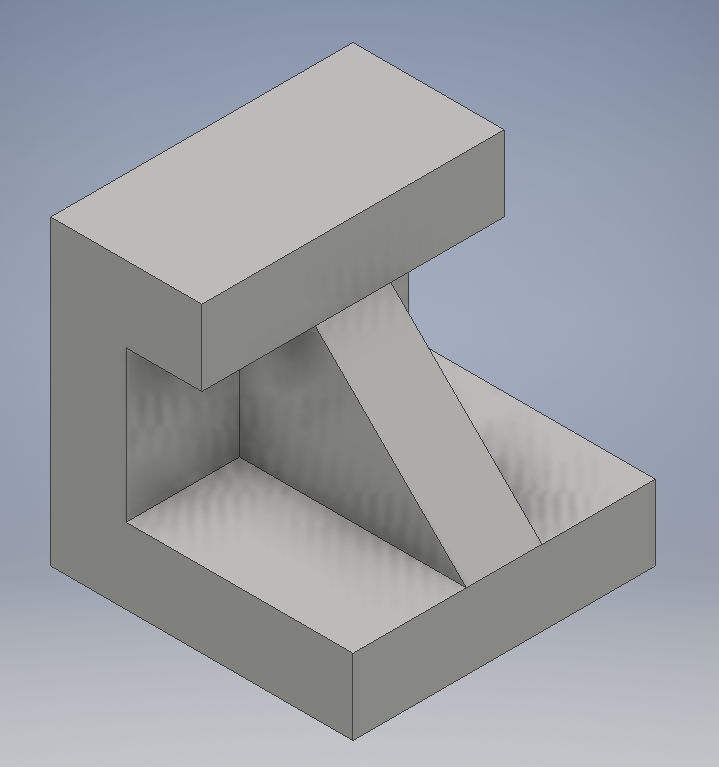
Then you have to make the hole in the middle so you go back to the first sketch doing the same thing as before, drawing, then doing dimensions and then extruding it but instead if making the figure you take it out by clicking another button to get rid of the space. |

|

Step Six:
After finishing the sketch you must then save it. You save it to Makerbox in which is will then put the widget into the 3D printer to then 3D print. You must change somethings so that the size of the widget can be created in the 3D printer. One of the things you must do it change the scale percent to 1000%. After making the changes you upload it to a flashdrive.
After finishing the sketch you must then save it. You save it to Makerbox in which is will then put the widget into the 3D printer to then 3D print. You must change somethings so that the size of the widget can be created in the 3D printer. One of the things you must do it change the scale percent to 1000%. After making the changes you upload it to a flashdrive.

Step Seven:
After uploading it to the flash drive you must then go to a 3D printer and put the flash drive in and start the printing. Staying there for a few min to make sure things go as planned. After about a half an hour the widget should be done.
After uploading it to the flash drive you must then go to a 3D printer and put the flash drive in and start the printing. Staying there for a few min to make sure things go as planned. After about a half an hour the widget should be done.
Widget Print

|

|
What I learned:
I learned how to use Inventor. Although within that I learned how to 3D scale and to create things in Inventor. Being able too look at a sketch, draw it and then add dimensions so it is the exact same as the sketch. Then I learned how to use Makerbot. Which is the 3D printer. Although I wasn't there to take a photo during the print but only start it with putting the flash drive then doing the filament and watching the base print. I only saw the ending piece. I learned that you also must time manage as I got behind in the project and to come in out of class to catch up. Going on with time I didn't take a photo during the print. I had lost track of time and got there when it was already done.
I learned how to use Inventor. Although within that I learned how to 3D scale and to create things in Inventor. Being able too look at a sketch, draw it and then add dimensions so it is the exact same as the sketch. Then I learned how to use Makerbot. Which is the 3D printer. Although I wasn't there to take a photo during the print but only start it with putting the flash drive then doing the filament and watching the base print. I only saw the ending piece. I learned that you also must time manage as I got behind in the project and to come in out of class to catch up. Going on with time I didn't take a photo during the print. I had lost track of time and got there when it was already done.
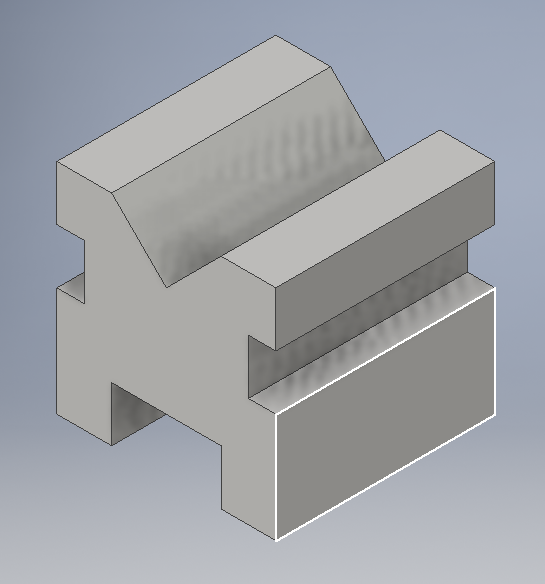
Other Widgets Created
|
|
|

|

|
